Showing posts with label tutorial. Show all posts

Tuesday, February 8, 2011

restyled: a tutorial

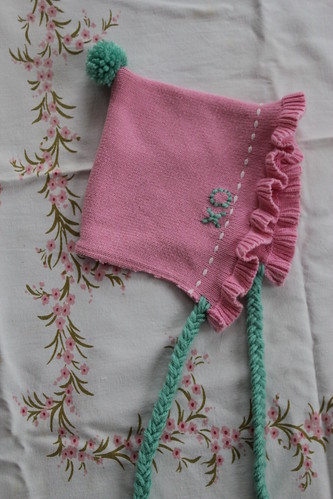
restyled bonnet-style baby beanie

I wanted to show you how I made a cute baby bonnet style beanie from an old baby sweater that was stained pretty badly.

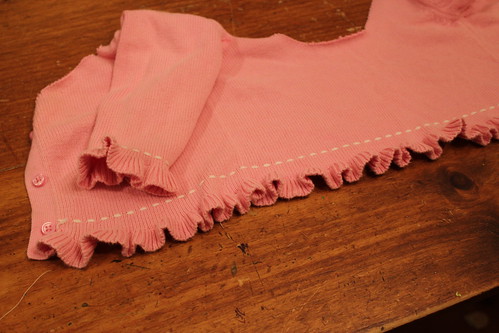
Here is the sweater before...kind of.  (I had already used parts of it for another project.)  I like the ruffly edge and thought it would be cute around a sweet little face.

baby sweater: before (kind of)

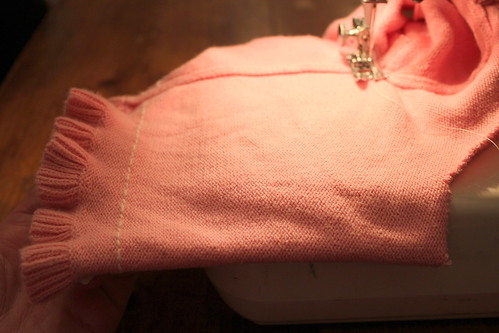
I folded it in half , inside out, with the seams matching up together.  The seams make a good edge: they won't unravel when you cut the sweater.  Since this was a tiny sweater, I went all the way up to the the arm hole seam and sewed a straight line from the seam to the fold of the sweater, making a right angle with the seams in the sweater and my sewing.

sew from seam in a straight line

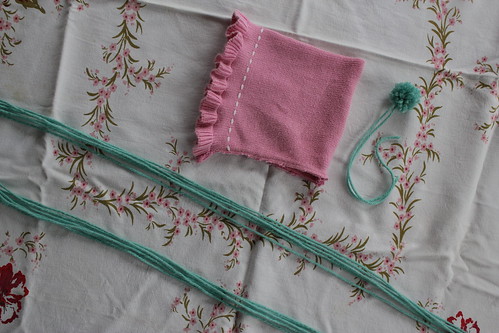
Then I cut it out and turned it right-side-out.  I made a pom pom and cut some strands of yarn to make ties.  (If you don't know how to make a pom pom, they are super simple.  Just google "pom pom tutorial" and I'm sure plenty of instruction will be right at your fingertips.)

ready to add ties and pom pom

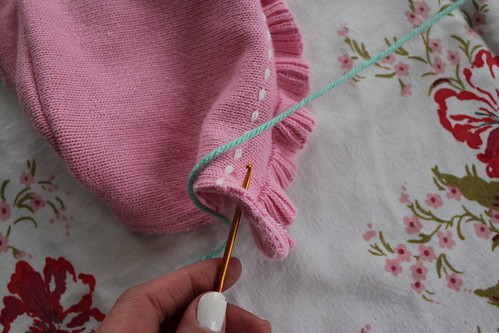
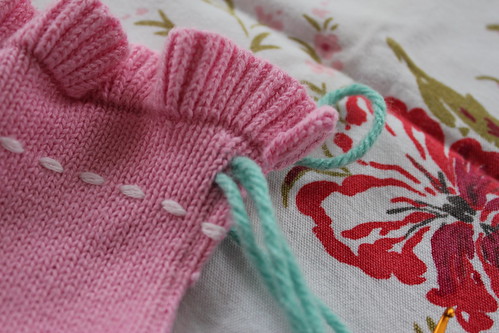
I just used a crochet hook to grab the yarn and work it through.

use crochet hook to pull yarn through

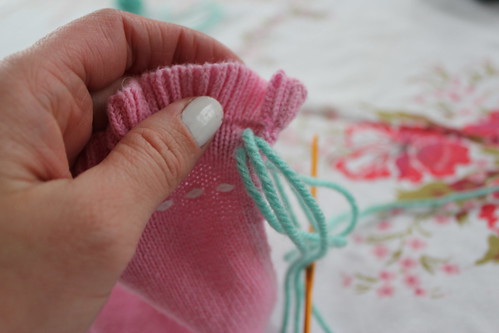
working the yarn to make ties

adding ties

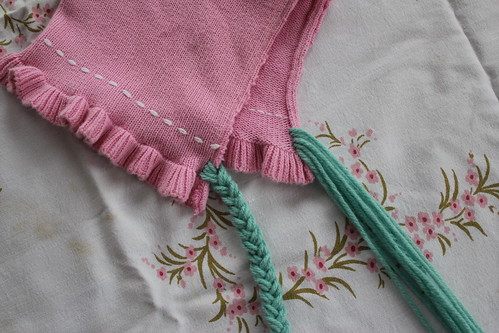
I used six strands of yarn; doubled makes four strands in each bunch when you braid it.

braid the yarn

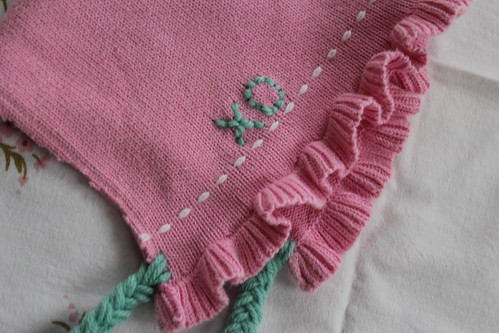
I wanted to embroider something simple + happy...

xo

attach the pom pom and voila!

restyled bonnet-style baby beanie

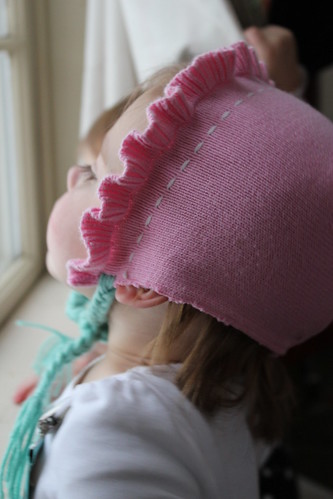
I tried it on one of the smallest heads in my house before sending it to my new niece.  Yes, it's a little too tiny, but it was still satisfying to get the idea of how it will frame that sweet new face...

peeking

xo
Britt

Tuesday, March 9, 2010

DIY baby project: Teeny-Tiny Bath Scrubbies

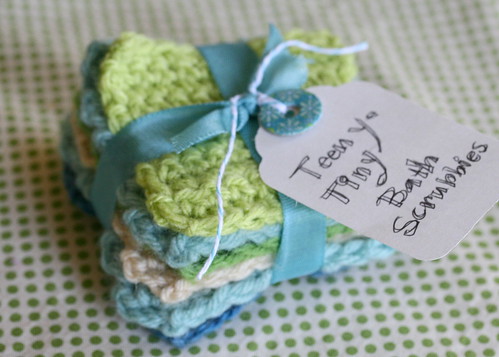
teeny tiny bath scrubbies
I have had a year of babies.

And now lots of people I love are about to have babies.

So I’m going to share some of my favorite baby things that you can make as little projects. They are quick and easy and cute and useful. All good things!

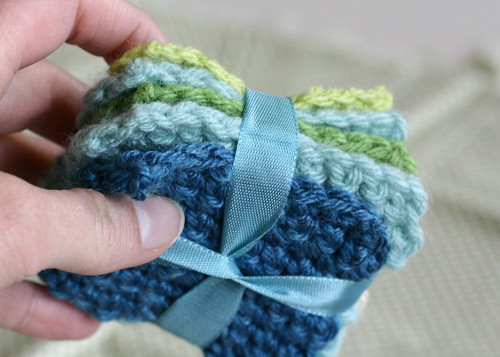
teeny tiny bath scrubbies2
The first one I’m going to share happened by accident. As most of you know I was on bed rest for quite a while. I needed my hands to be busy, but really when it comes down to it I really didn’t finish making almost anything. (unless you count two babies.) So I had lots of partial projects. I ended up having several little crocheted squares that were floating around and somewhere along the way I threw them in the bath with the babies and ended up loving them!

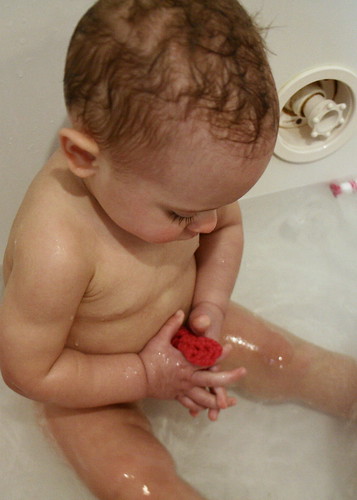
Here's an action shot for you:

bath scrubby: in action


They are only about 3 inch squares, so they are teeny tiny and cute! The babies like ‘em and they scrub great! Did your grandma ever make you those crocheted dish cloths? Well mine did, and they scrubbed like the dickens. I loved those things, (I sense another project coming on…) and these little cuties are along the same lines. They are tiny for tiny body parts, but you put a little shampoo on there and it is great for their scalp, too.

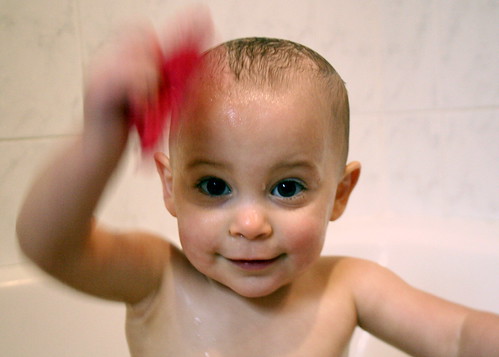
Here's a little game we play:

First you put it on her head.  Then you see what happens.

bath scrubby: games

bath scrubby: games in the tubba-scrub-scrub

Then you put it on her head again and again.

This is a great take-along project. I like to have something to do in carpool lines and waiting rooms and usually have something like this in my bag. You can get these done super fast and they’re great for scrap yarn, too.

pinkie lee


(If you don’t have any babies to bathe, you could always make some for yourself—they make great little face cleansing cloths, too.)


You crochet-ers out there, just go and do. But for those of you who like a good recipe, I have taken the liberty to write it down for ya. (if you google “learn to crochet,” you’ll find tons of tutorials, both illustrated and video.)

crocheting

Teeny-Tiny Bath Scrubbies


Chain 11

Row 1: sc 2nd ch from hook, 1 sc in each ch across row, ch1, turn

Row 2: 10 sc across row, ch 1, turn.

Rows 3-10: same as row 2

Fasten off

scrubby scrub, go have fun in the tub.

xo
Brittany

Wednesday, January 20, 2010

you put it on your head

crochet project: hat

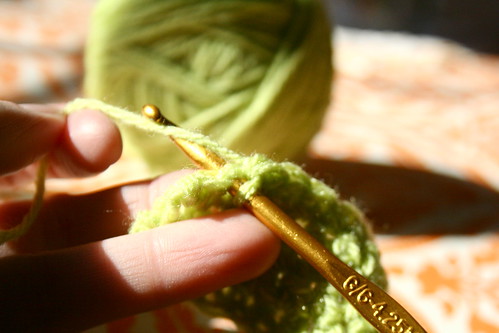
I've been a crocheting fool lately. I have been craving yarn.
I made this little cutie from a tutorial I found here.

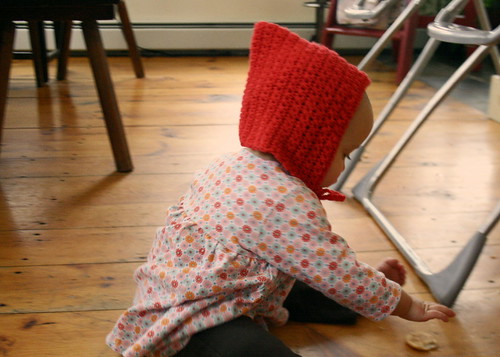
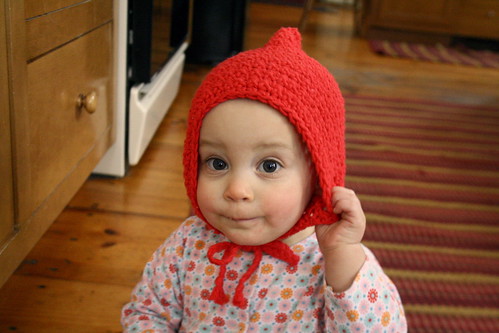
little hat baby

We have them in several colors and sizes. The children thought it was so cute without the pom pom that they talked me in to not putting one on. But I may still do it yet. My five-year-old says she likes it because it's what "the towns people would wear."

I wonder which town she's talking about?


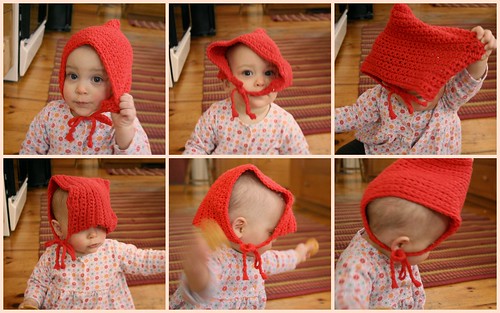
get.it.off.

This little Wee One won't keep anything on her head.

It's sad.

She has no hair.

It's cold outside.

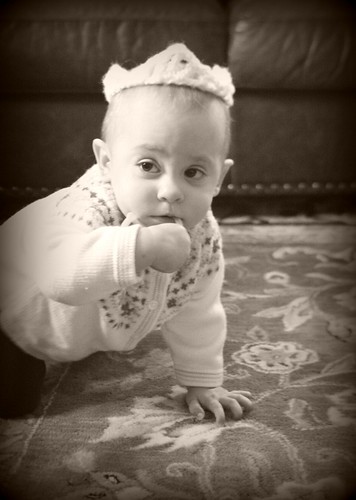
crowned princess

Here's another little ditty I made spur of the moment. I had a craving for a crown. I don't know why, I just thought it would be cute if I could crown a baby, but crowns are always so hard and that would make me feel mean. So I had my crochet hook in hand and saw a little "edge" in a book that looked like a perfect crown.

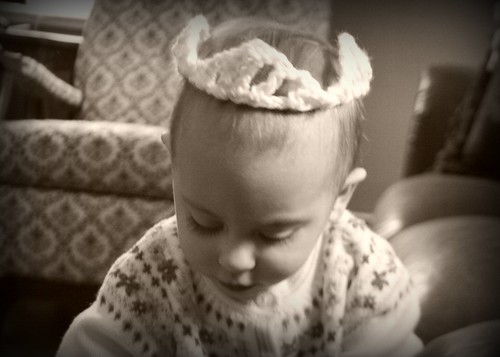
crocheted crown

She doesn't even realize it's on most of the time.

crocheted crown: back view

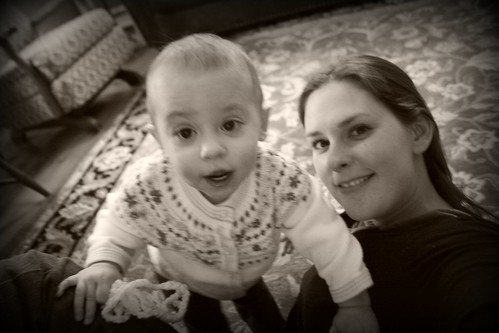
Except when she does. Then she grabs it and takes it off and climbs on top of me when I'm taking her picture.

_MG_4266

Saturday, April 18, 2009

play with your food {yes, I included the cake balls in this post}

IMG_9044
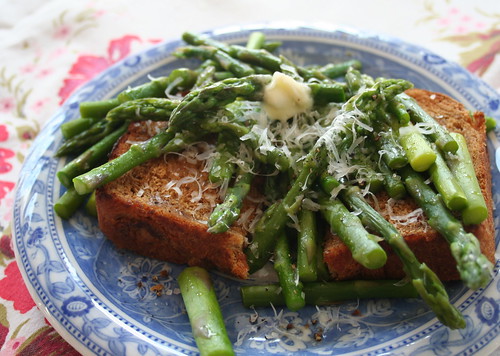
open-faced asparagus sandwich with parmesan cheese--this one is on my oatmeal bread, mmmm

A while back while I was taking pictures of my open faced asparagus sandwich {a nice, pleasant light lunch} my daughter made fun of me. “You always take pictures of your food,” she mocked me with giggles and rolls of the {beautiful chocolate} eyes.

That’s right. I take great pleasure in my food. {Play-sure}, that is. It looks pretty—like a little piece of art waiting to be enjoyed. It smells wonderful—the olfactory glands telling you, yes, this is good. Then you EAT it and it is sensory overload bringing the senses of smell, touch, taste, and sight together making the process of food delightful to me.

Plus the whole thing about food memory. Take the asparagus sandwich pictured above. I would have never thought to make and eat that, except that my sweet mother-in-law made it for me one happy spring morning. While going out to check out the garden, there are left over asparagus from the previous owner (which is very nice for me) and since there are only a few that pop up, I had been just breaking them off and munching them as I wandered happily around my yard in the springtime sun. One day they were cut lovingly with spry little garden savvy hands and chopped and cut and steamed and put over toast (with butter and a little bit of the water that it was steamed in spooned over the top). It was the loveliest spur of the moment meal with someone I loved. And she had had it prepared for her by someone she loved. And so it goes. Now when ever I have that meal it feels like spring.
IMG_9207
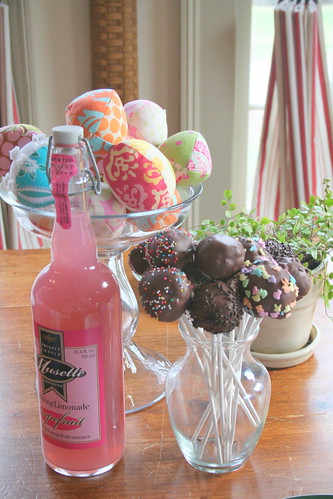
i made the easter eggs from this tutorial

So. The cake balls. I thought I had blogged about that before, but whether I did or not, I will share the secrets of cake balls with you right here and now. {they are very yummy} My wicked awesome cousin made about a million of them and blogged about it and I reacted the same way you all did. “What are cake balls? How do you make them? I want to eat one today!” So I will send you to the place I learned about cake balls, *bakerella* and instead of making you read all the millions of comments, I will tell you what I learned the hard way…

*make a cake, any cake. Boxed, homemade, chocolate, yellow, any cake will do.
*let it cool completely and toss it into a big mixing bowl and crumble it all up. Seriously.
*put the frosting you would have frosted the cake with in the bowl and stir it up.
*it will stick together now and you form balls with it. Put them on a parchment lined cookie sheet and freeze them
*if you want to put them on sticks, do it now, but keep them in the freezer
*melt the chocolate.
*take the cake balls out about 5 at a time and dip. The reason this is important is that if they are not frozen-ish, the cake ball won’t hold together and will slide off the stick.
*if you’re going to sprinkle something cute on it, now is the time. Ideas: sprinkles, nuts, coconut…
*push the stick into a sheet of Styrofoam until the chocolate hardens
*enjoy them by looking at them, smelling them arranging them in some cute fashion, sharing them with people you love and of course by EATING them!

This process takes a while. Don’t try to procrastinate with this, you need to do it in steps, but it is worth it in the end. They are a big hit.


Thursday, October 16, 2008

flower power

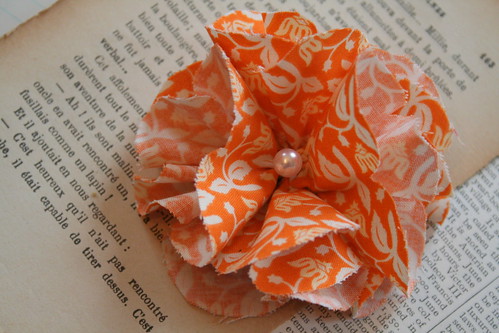
flower tutorial #10

I am in the process of adding flowers and flower kits to my website and etsy page for purchasing, but I thought that it would be fun for you to see the process of the flower-making for those of you who would rather do it yourselves.

flower tutorial #1
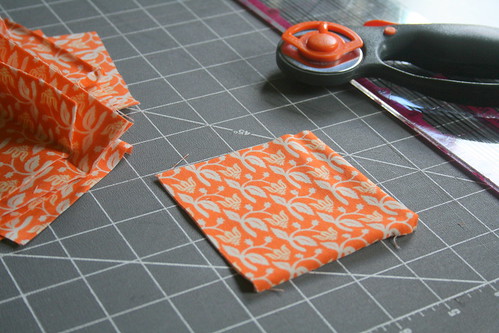
step #1: start with squares--the more squares, the fuller your flower will be. In this tutorial I am using 6 squares that measure 3 1/2 inches.

flower tutorial #2
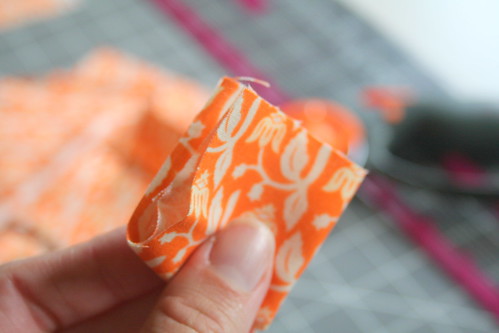
step #2: fold the square into quarters.

flower tutorial #3
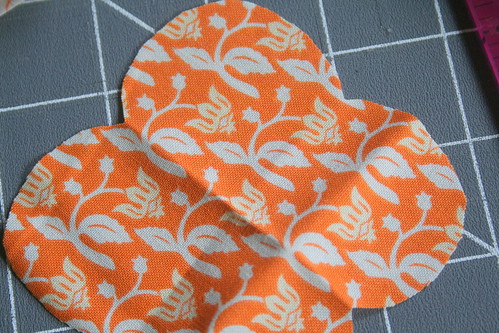
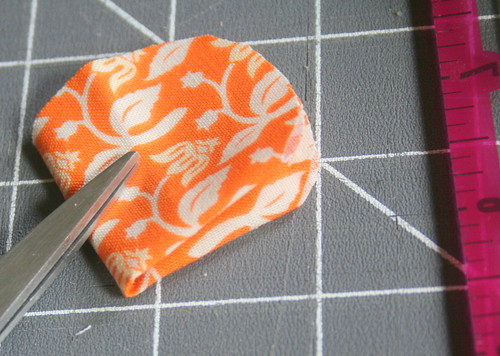
step #3: hold the folded end and cut the edge into a semi circle. It will look like an ice cream cone while it is folded.

flower tutorial #4
This is what it will look like when you unfold it...

flower tutorial #5
step #4: hand sew a circle in the middle of your scalloped square. I used dark thread in this example so you could see it easily. It doesn't have to be perfect.

flower tutorial #6
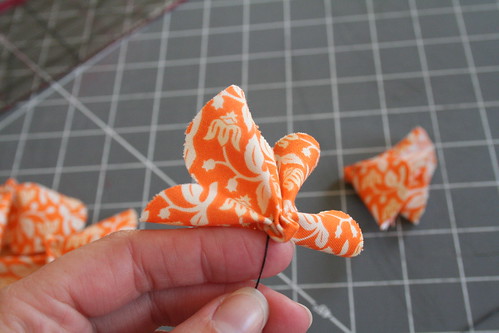
step #5: pull your sewing tight and it will bunch up. tie a knot to secure it.
flower tutorial #7
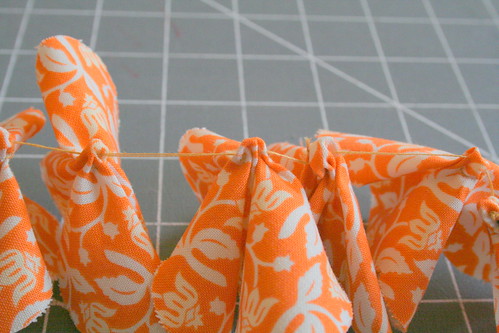
step #6: after doing this with all the pieces, sew them together by the little center bunchy parts:)

flower tutorial #8
step #7: then pull it tight and it will start looking like a flower.

flower tutorial #9
step #8: sew them all together and secure with a knot. You have your basic flower and you're ready to embellish it any way you choose!
flower tutorial #11
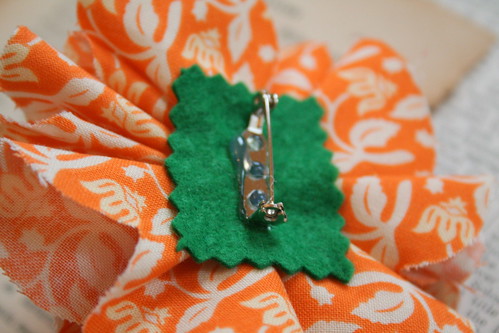
step #9: sew on button details and hot glue felt and a brooch pin on the back. I used to hand sew the felt and clasp on, but recently have found that hot glue saves lots of time and energy.
*Remember, go here or here to pre-order your aprons now!